Overview
In this tutorial, you’ll learn how to add custom evaluations to a comedy multi-agent LLM app using Galileo. This tutorial is intended for Python developers building domain-specific AI applications. It assumes you have basic knowledge of:- Some familiarity with Python/Flask
- Python Package Manager of choice (we’ll be using uv)
- Code editor of choice (VS Code, Cursor, Warp, etc.)
- API keys for:
- Understand the importance of domain-expertise in Galileo
- Create a custom LLM-as-a-Judge metric to evaluate outputs
Background
For the sake of jumping right into action — we’ll be starting from an existing application and demonstrating how to add custom metrics to an existing application. The app we’ll be building off of is the Startup Sim 3000, an LLM-based Python application that generates either serious or silly startup pitches using OpenAI and real-time data. The app includes two agent chains:- Serious Mode: Uses NewsAPI data and GPT-4 to generate business-style startup pitches
- Silly Mode: Uses HackerNews headlines to inspire parody pitches of absurd tech startups
Create a new Galileo project
In order to set up custom metrics, we’ll need a Galileo project to log evaluations to first.Create a new project from the Galileo Console using the `New Project button`
If you haven’t already, create a free Galileo account on app.galileo.ai. When prompted, add an organization name. To dive right into this tutorial, you can skip past the onboarding screen by clicking on the Galileo Logo in the upper left hand corner.
Note: You will not be able to come back to this screen again, however there are helpful instructions to getting started in the Galileo Docs.
Get your Galileo API Keys
Once that is created. Click on the profile icon in the upper right hand side of the page, navigate on the drop-down menu to API keys. From the API Keys screen, select Create New Key. Save the key within your environment file with the project name and Log stream name you’ve created.
Set up the project
Clone the project in your IDE of choice.
The starter project is in the
sdk-examples/python/agent/startup-simulator-3000 folder in the cloned repo.Set up a virtual environment and install dependencies.
A virtual environment keeps your project’s dependencies isolated from your global Python installation. For this we’ll be using uv.On Windows:On MacOS/Linux:This creates and activates a virtual environment for your project, then installs the necessary requirements.
Configure your .env file.
Take the
.example.env file, copy it, renaming it to .env and add in your own variables. Be sure the variables are added to your .gitignore file.When complete, it should look something like this:.env
Start the Flask app and test out the application
After your environment variables are set, you are all set to run the application. The application is designed as a Flask Application, with a JavaScript frontend, and Python backend.Run the application locally by running the following in the terminal.Your application will be running at http://localhost:2021 — open that within your browser and start exploring.Try generating both “Silly” and “Serious” mode pitches.The standard flow of the application is as follows:
User Input → Flask Route → Agent Coordinator → Tool Chain → AI Model → Response
Create a custom LLM-as-a-Judge metric in Galileo
Add metrics to your Log stream in Galileo
Navigate to your project home inside of Galileo.Look for the name of your project, and open it up to the Log stream you’ve got your traces in.Click on the Trace view and see your most recent runs listed below, it should look something like below.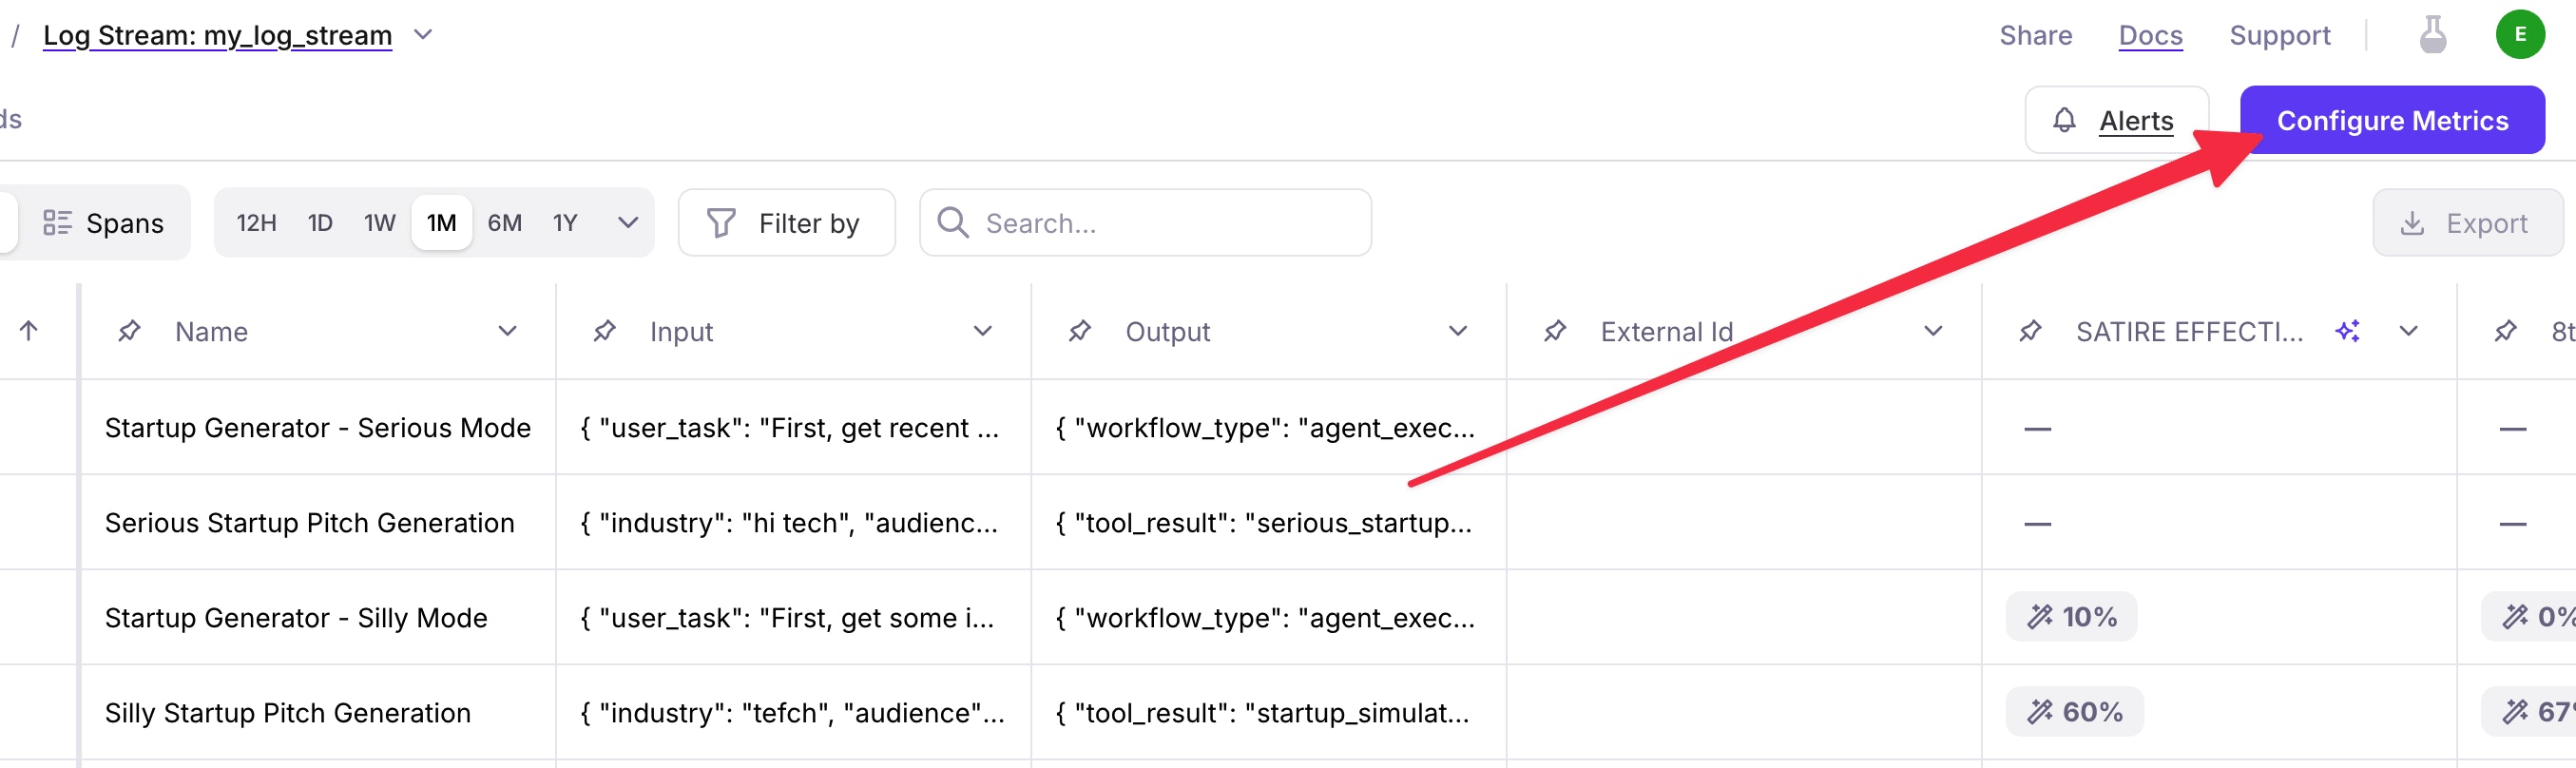
Add custom metrics
That’s where custom metrics come in.Once in this panel, navigate to the Create Metric in the upper right hand corner of your screen, and select LLM-as-a-Judge Metric.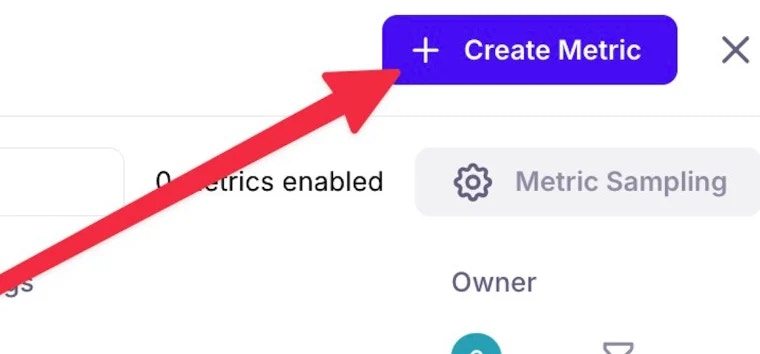
Create your own LLM-as-a-Judge prompt
A window will appear where you will be able to generate a metric prompt. A metric prompt is a prompt to prompt the creation of the final LLM as a judge prompt. This is to ensure you spend your time focused on what’s important (the success criteria) instead of worrying about the output format.When writing a good prompt, remember that the goal is to transform subjective evaluation criteria into a consistent, repeatable process that a language model can assess.Use a specific, structured metric for best results. For this example, I’ve provided a sample custom metric below.When added, press Save then test your metric. The evaluation prompt will then be generated for you to see within a preview window.
Test your metric
From within the Custom Metric pane, select Test Metric.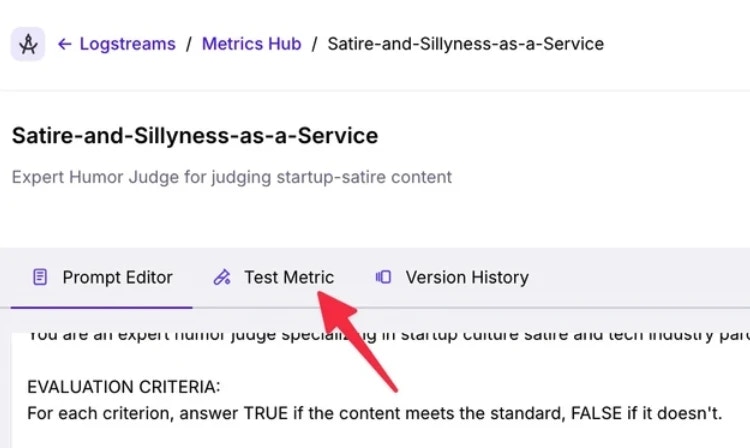


Summary
In this tutorial, you learned how to:- Configure and observe spans in a creative AI agent app
- Translate your domain expertise into a measurable AI quality rubric
- Build a custom metric with LLM-as-a-Judge to evaluate startup pitches
Next steps
- Check out other cookbooks in the Galileo cookbook library
- Explore how to create custom metrics in Galileo using code
- Learn more about the different out-of-the-box-metrics available in Galileo