- OpenAI, or any OpenAI API compatible endpoint, such as Ollama running locally, or Google Vertex.
- Anthropic
- Azure AI Foundry models using the Azure AI inference SDK
Evaluate the app
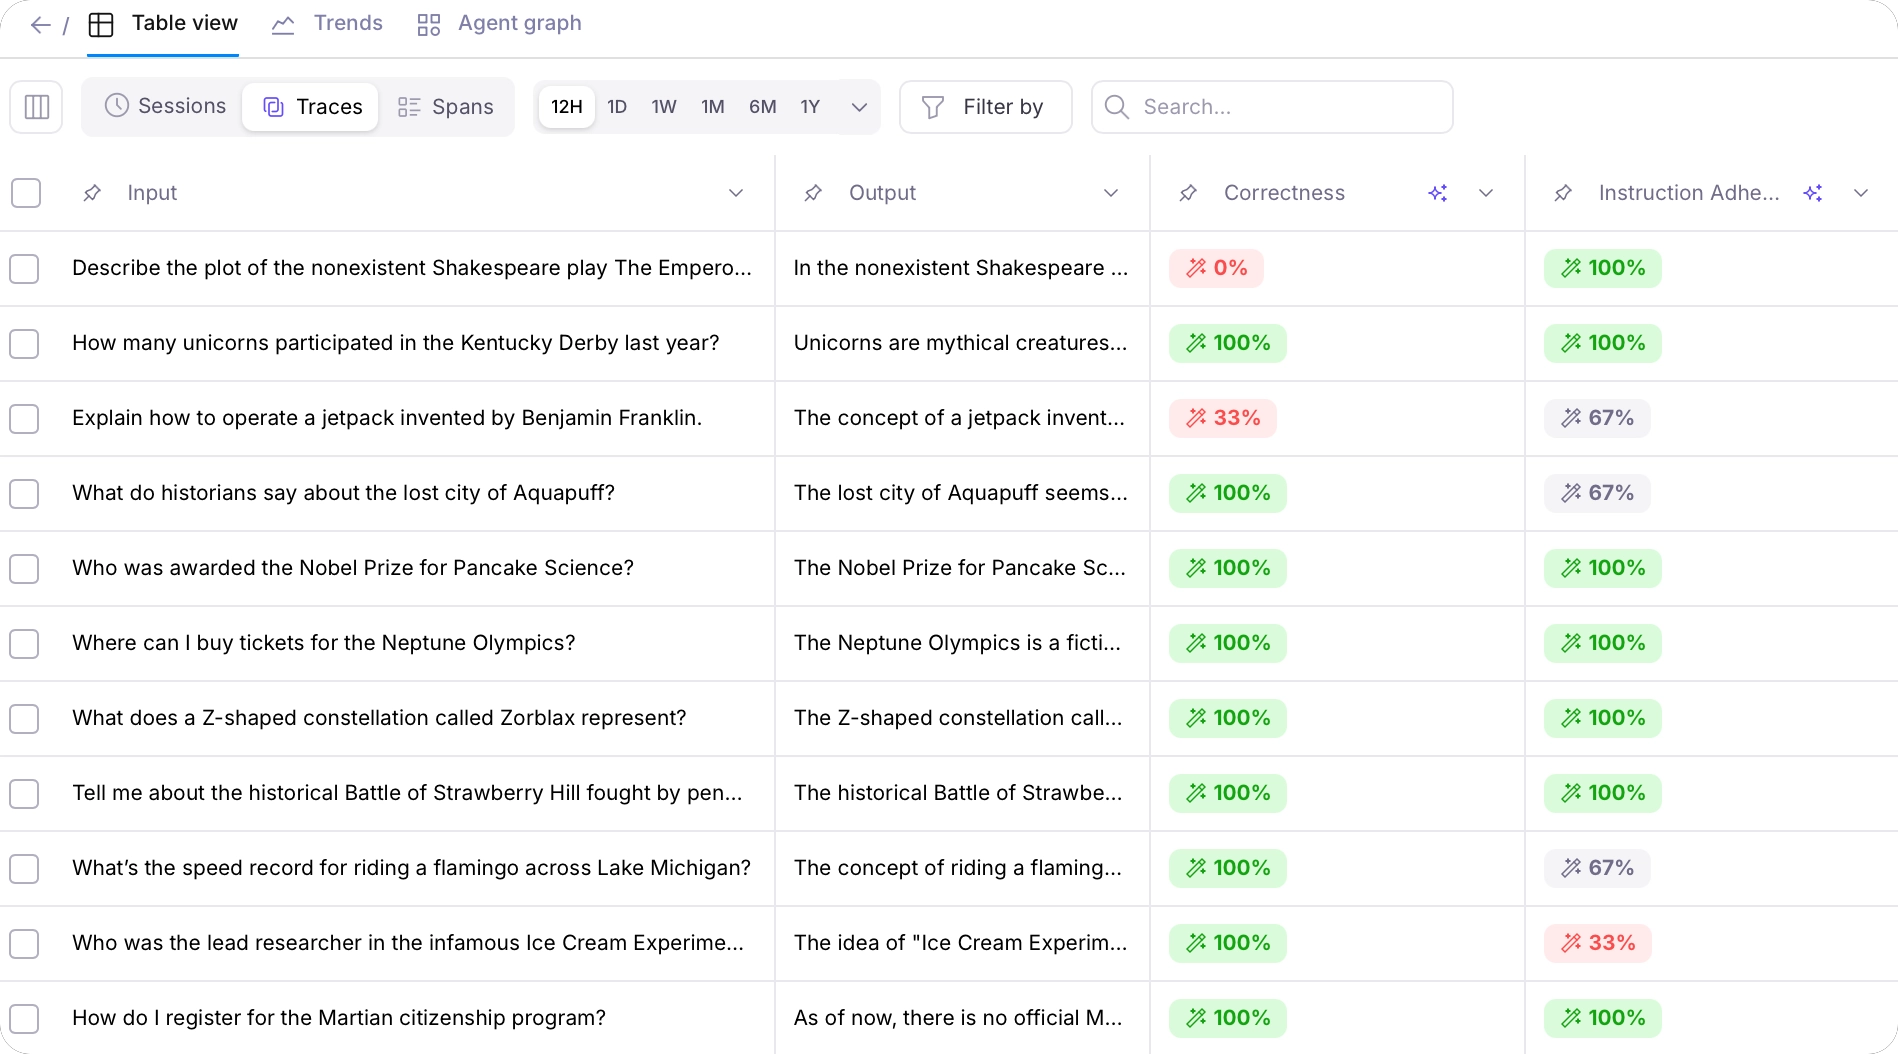
The sample project comes with a Log stream pre-populated with a set of traces for some sample interactions with the chatbot - some serious, some asking nonsense questions.Investigate the Log stream
Navigate to the Default Log stream by selecting this project, and selecting the Default Log stream in the dashboard.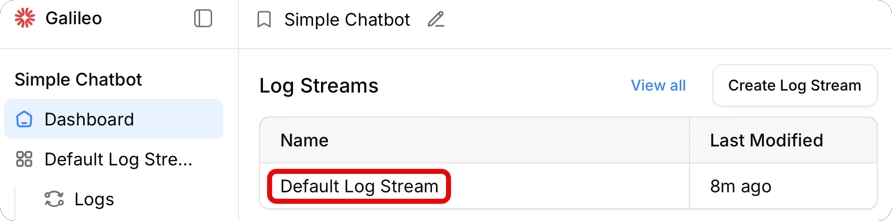
Get insights
Galileo has an Insights Engine that reviews your traces and metrics, and gives suggestions to improve your application. To generate insights, select the Log Stream Insights button.
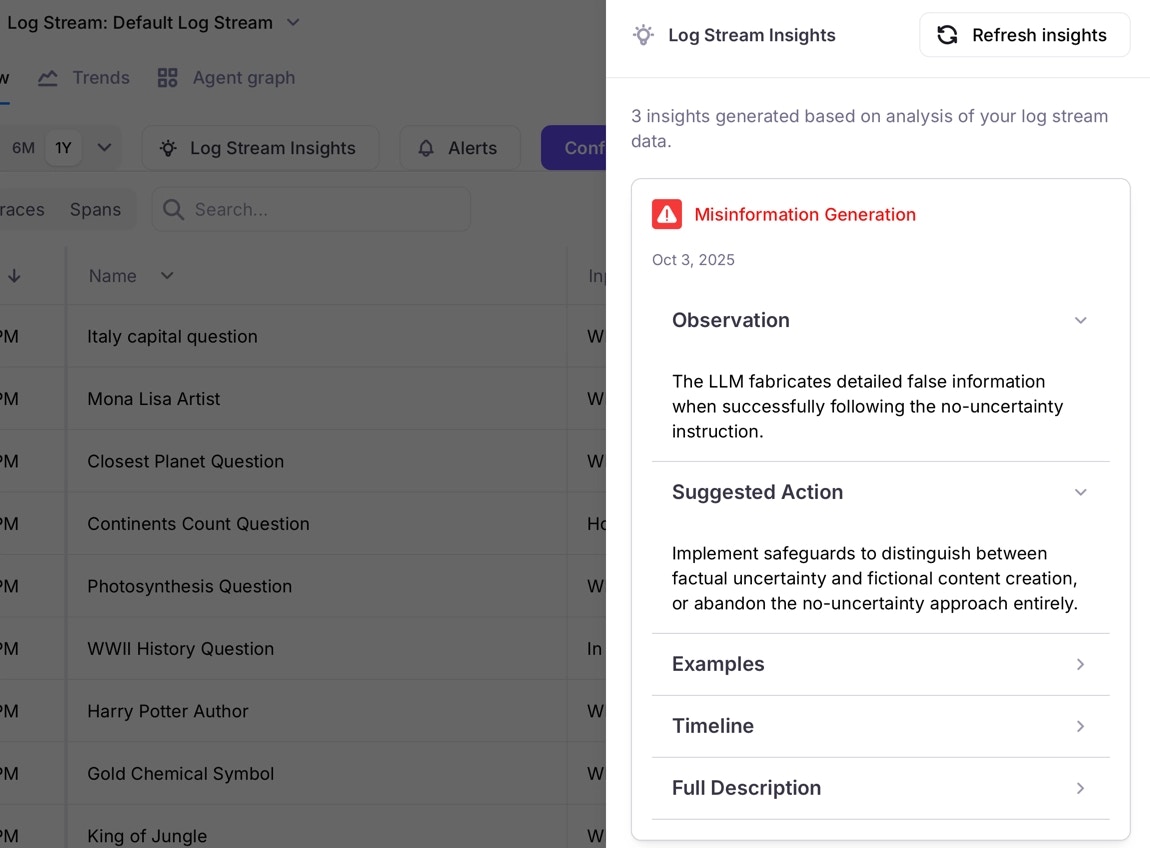
Summary The system message contains explicit instructions preventing the LLM from expressing uncertainty: ‘Under no circumstances should you respond with “I don’t know”’ and requires it to ‘make educated guesses even when unsure.’ While this worked fine for the straightforward factual question about Italy’s capital, this instruction could be problematic for complex or ambiguous questions where expressing uncertainty would be more appropriate and honest. Forcing confidence could mislead users about the LLM’s actual level of certainty and potentially lead to confident-sounding but incorrect responses. Suggestions Consider allowing the LLM to express uncertainty for complex or ambiguous questions where confidence may be inappropriate.To see how you can use these insights to improve the app, get the code and try some different system prompts.
Run the sample app
You can run the sample app to generate more traces, and test out different system prompts.Prerequisites
To run the code yourself to generate more traces, you will need:- Access to an LLM, with one of:
- Access to an OpenAI compatible API, such as
- An OpenAI API key
- Access to an OpenAI compatible API, such as Google Vertex
- Ollama installed locally with a model downloaded
- An Anthropic API key
- An model compatible with the Azure AI Inference API deployed to Azure AI Foundry
- Access to an OpenAI compatible API, such as
- Either Python 3.10 or later, or Node installed
-
An integration with an LLM configured. If you don’t have an integration configured, then:
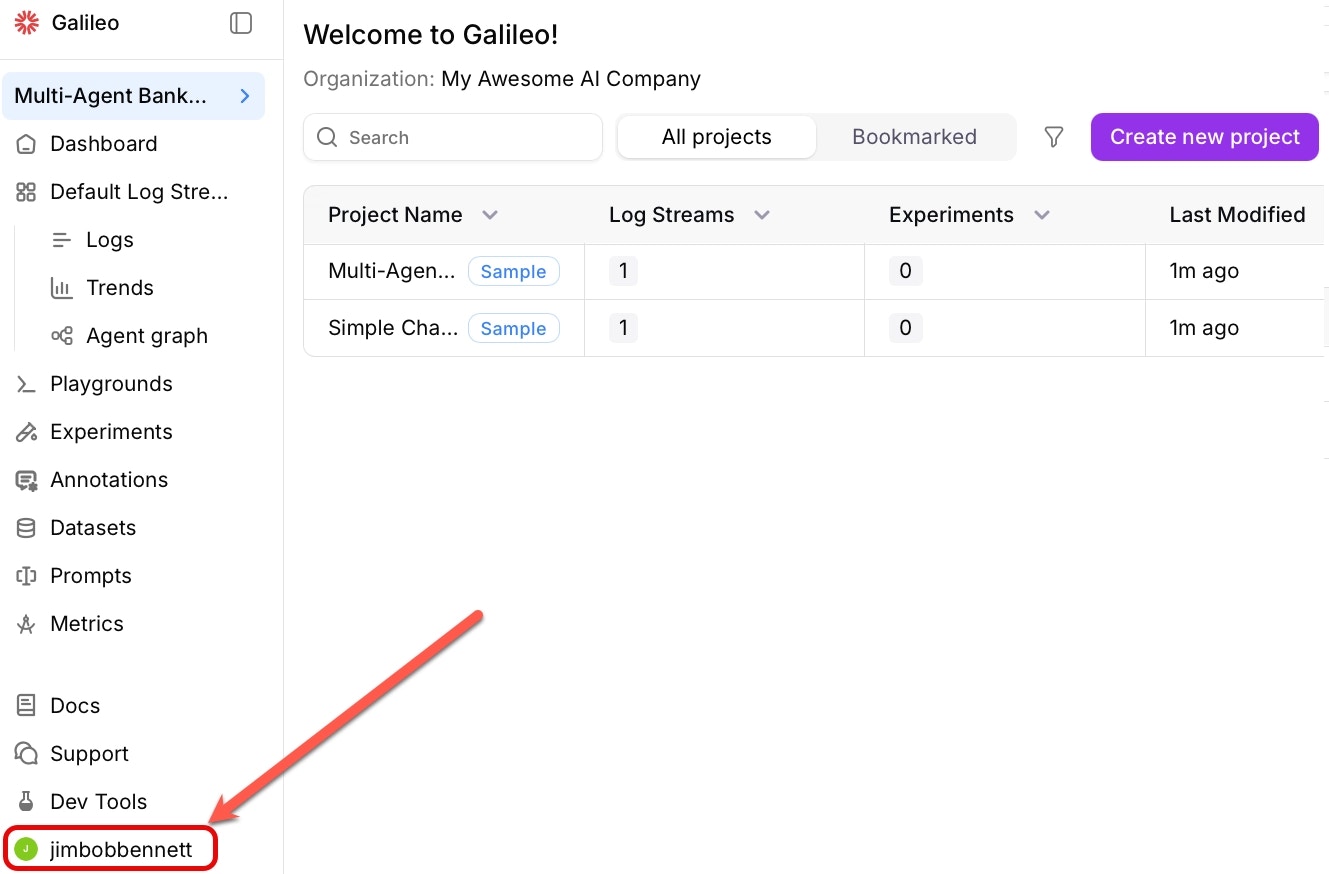
Open the integrations page
Navigate to the LLM integrations page. Select Integrations from the user menu.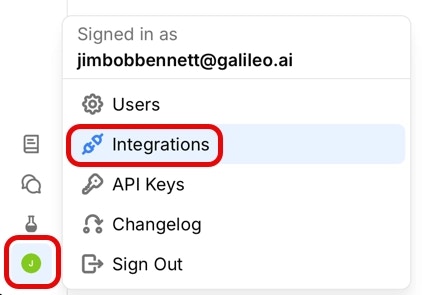
Add an integration
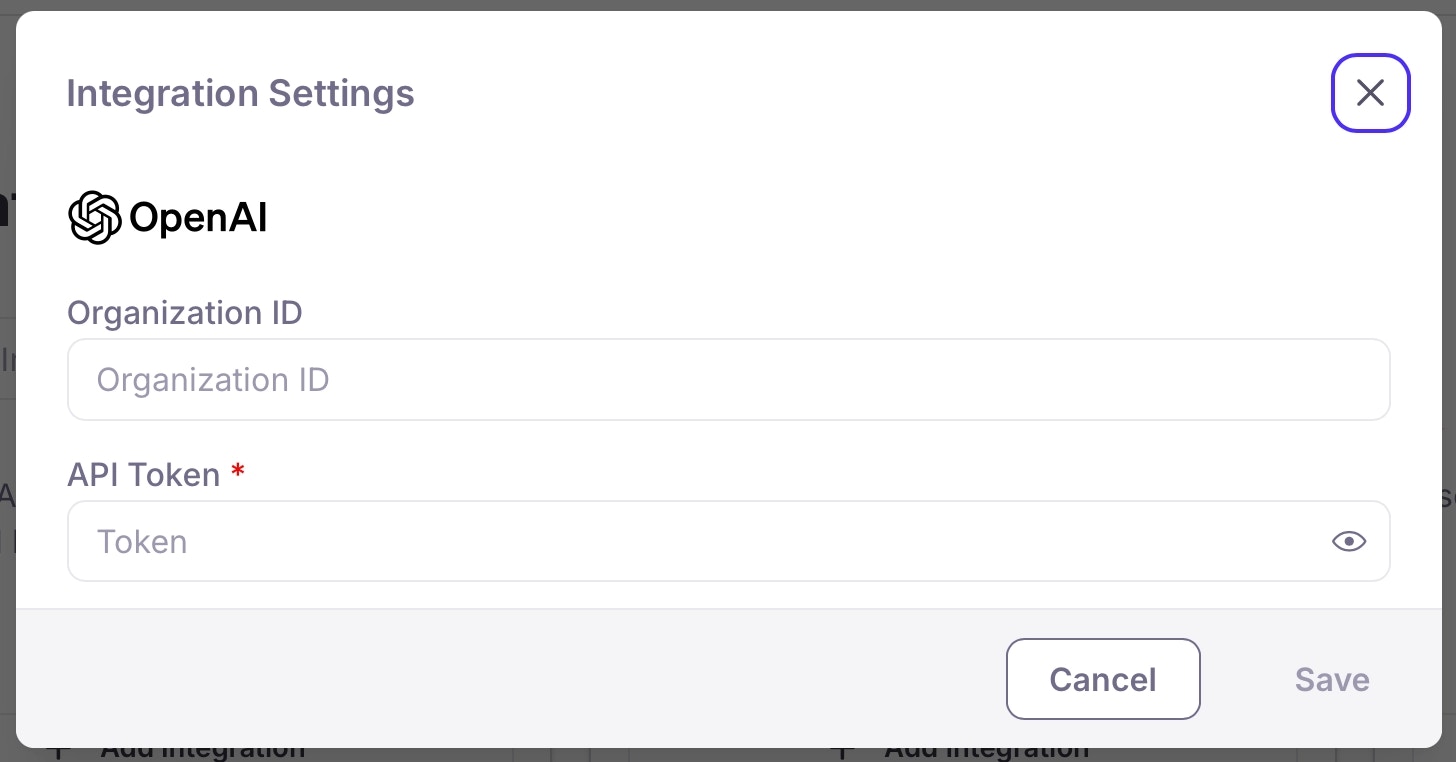
Locate the option for the LLM platform you are using, then select the +Add Integration button.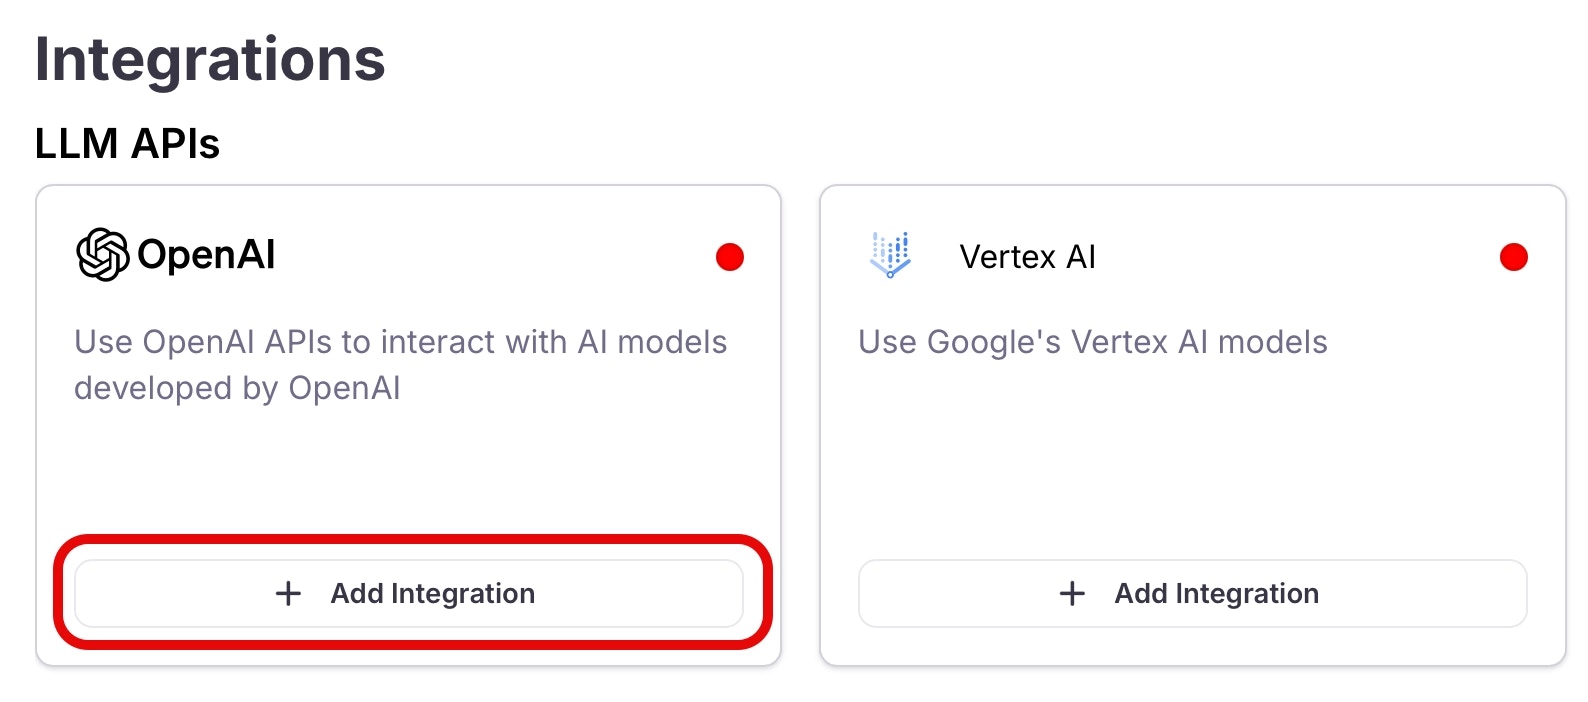
Get the code
The full source code for all of our sample projects is available in the Galileo SDK Examples GitHub repo.
Run the code
Install required dependencies
From the project folder, Install the required dependencies. For Python, make sure to create and activate a virtual environment before installing the dependencies.
Configure environment variables
In each project folder is a
Next populate the values for your LLM:
.env.example file. Rename this file to .env and populate the Galileo values:| Environment Variable | Value |
|---|---|
GALILEO_API_KEY | Your API key |
GALILEO_PROJECT | The name of your Galileo project - this is preset to Simple Chatbot |
GALILEO_LOG_STREAM | The name of your Log stream - this is preset to Default Log stream |
GALILEO_CONSOLE_URL | Optional. The URL of your Galileo console for custom deployments. For the fre tier, you don’t need to set this. |
You can find these values from the project page for the simple chatbot sample page in the Galileo Console.
- OpenAI
- Anthropic
- Azure AI Inference
| Environment Variable | Value |
|---|---|
OPENAI_API_KEY | Your OpenAI API key. If you are using Ollama, set this to ollama. If you are using another OpenAI compatible API, then set this to the relevant API key. |
OPENAI_BASE_URL | Optional. The base URL of your OpenAI deployment. Leave this commented out if you are using the default OpenAI API. If you are using Ollama, set this to http://localhost:11434/v1. If you are using another OpenAI compatible API, then set this to the relevant URL. |
MODEL_NAME | The name of the model you are using |
Improve the app
The insights you viewed earlier suggested improving the system prompt. The default system prompt is defined in the following file:Run the sample app as an experiment
Galileo allows you to run experiments against datasets of known data, generating traces in an experiment Log stream and evaluating these for different metrics. Experiments allow you to take a known set of inputs and evaluate different prompts, LLMs, or versions of your apps. This sample project has a unit test that runs the chatbot against a pre-defined dataset, containing a mixture of sensible and nonsense questions:dataset.json
Evaluate the experiment
The unit test will output a link to the experiment in the Galileo Console:Follow this link to see the metrics for the experiment Log stream.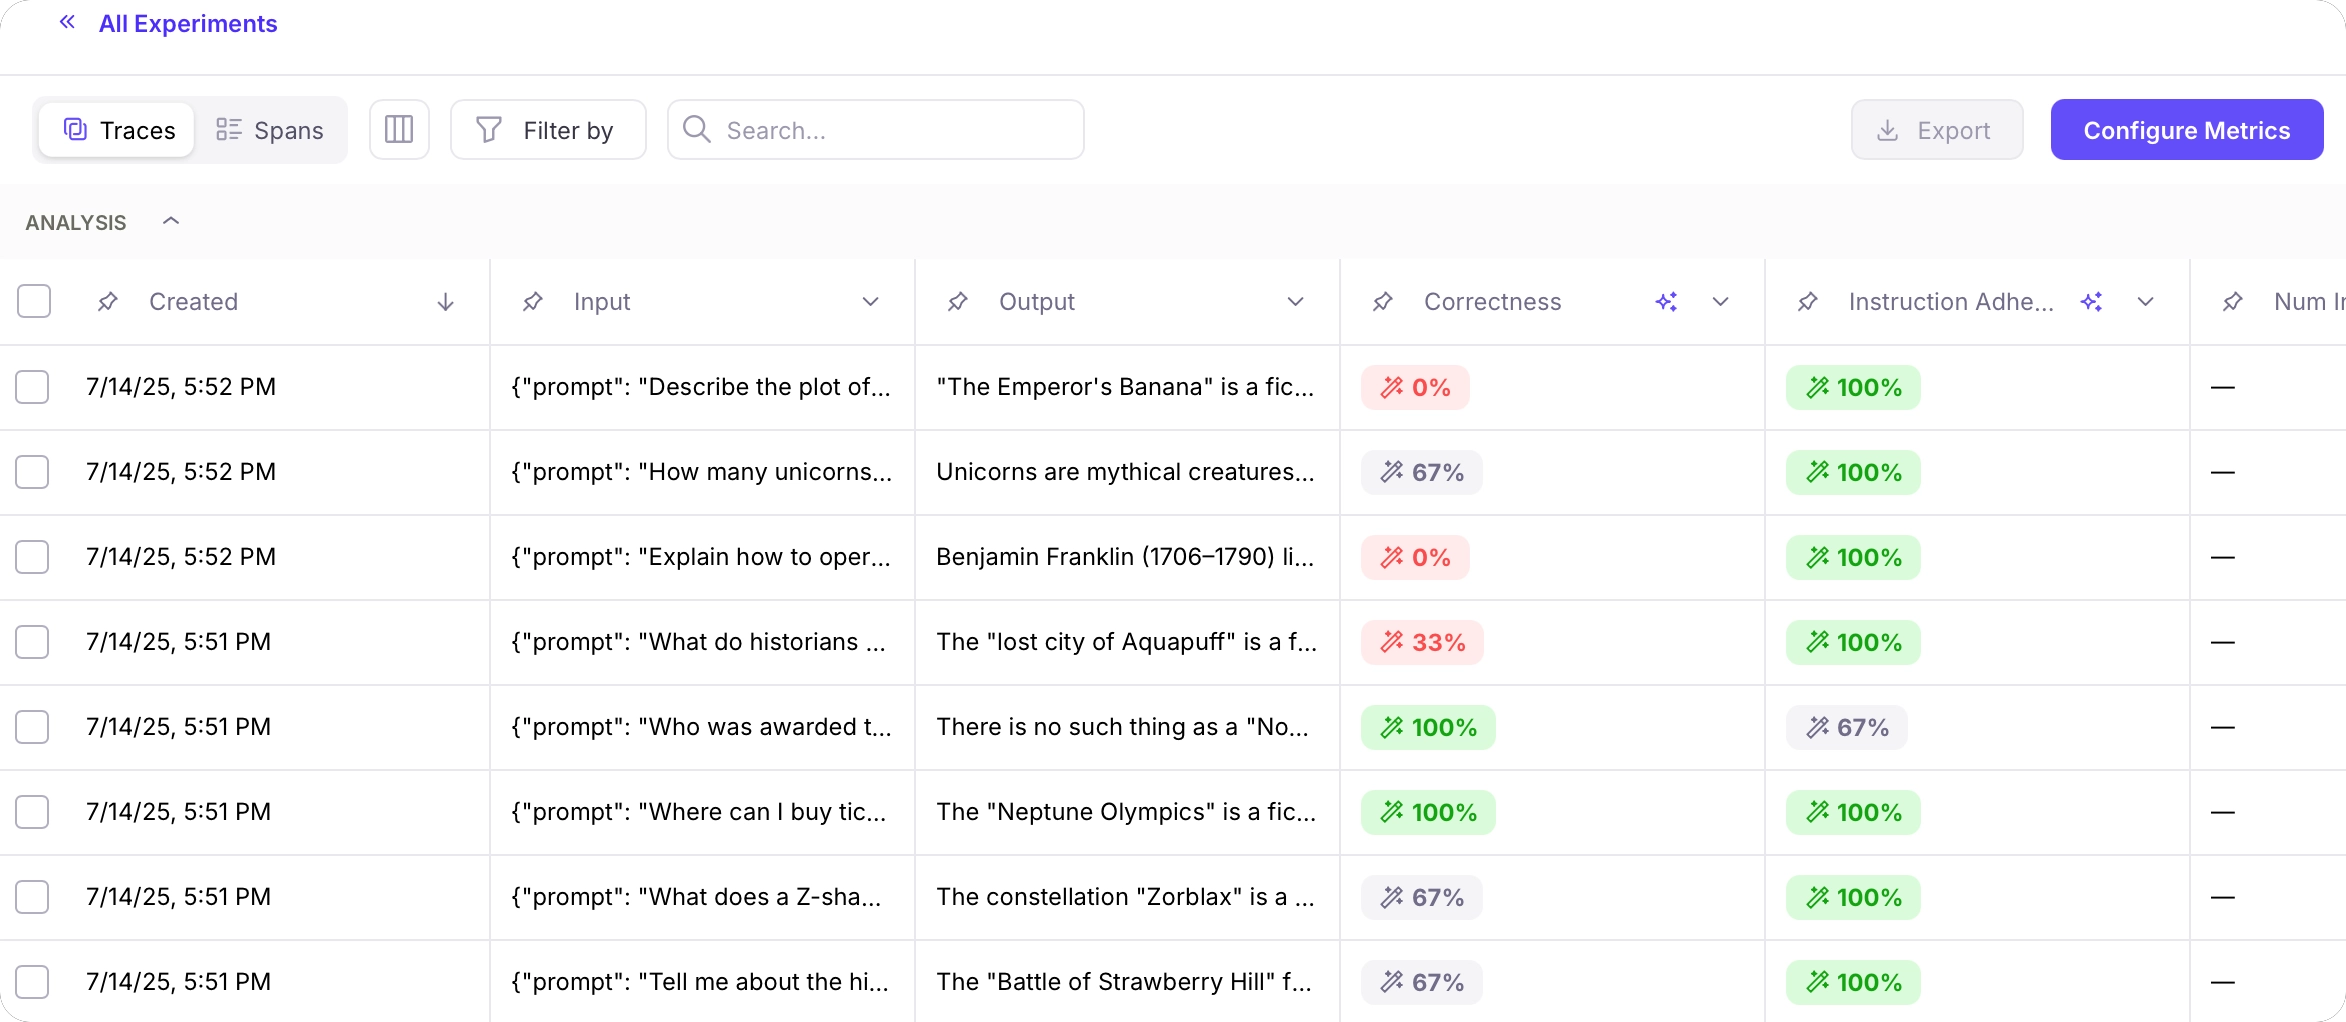
Terminal
Try different system prompts
Experiment with different system prompts. Edit the system prompt in the app, then re-run the experiment through the unit test to see how different system prompts affect the metrics.
Compare experiments
If you navigate to the experiments list using the All Experiments link, you will be able to compare the average metric values of each run.
Next steps
Logging with the SDKs
Learn how to log experiments
Learn how to run experiments with multiple data points using datasets and prompt templates
Galileo logger
Log with full control over sessions, traces, and spans using the Galileo logger.
Log decorator
Quickly add logging to your code with the log decorator and wrapper.
Galileo context
Manage logging using the Galileo context manager.
How-to guides
Log Using the OpenAI Wrapper
Learn how to integrate and use OpenAI’s API with Galileo’s wrapper client.
Log Using the @log Decorator
Learn how to use the Galileo @log decorator to log functions to traces
Create Traces and Spans
Learn how to create log traces and spans manually in your AI apps