What are custom integrations?
Galileo’s custom integrations provide a flexible way of setting up LLMs that aren’t supported through other existing integrations. For example, when there are non-standard proxies, proprietary authentications, or proprietary inference protocols. This video demonstrates how to add a custom integration to Galileo:Configuring custom integrations in the Galileo console
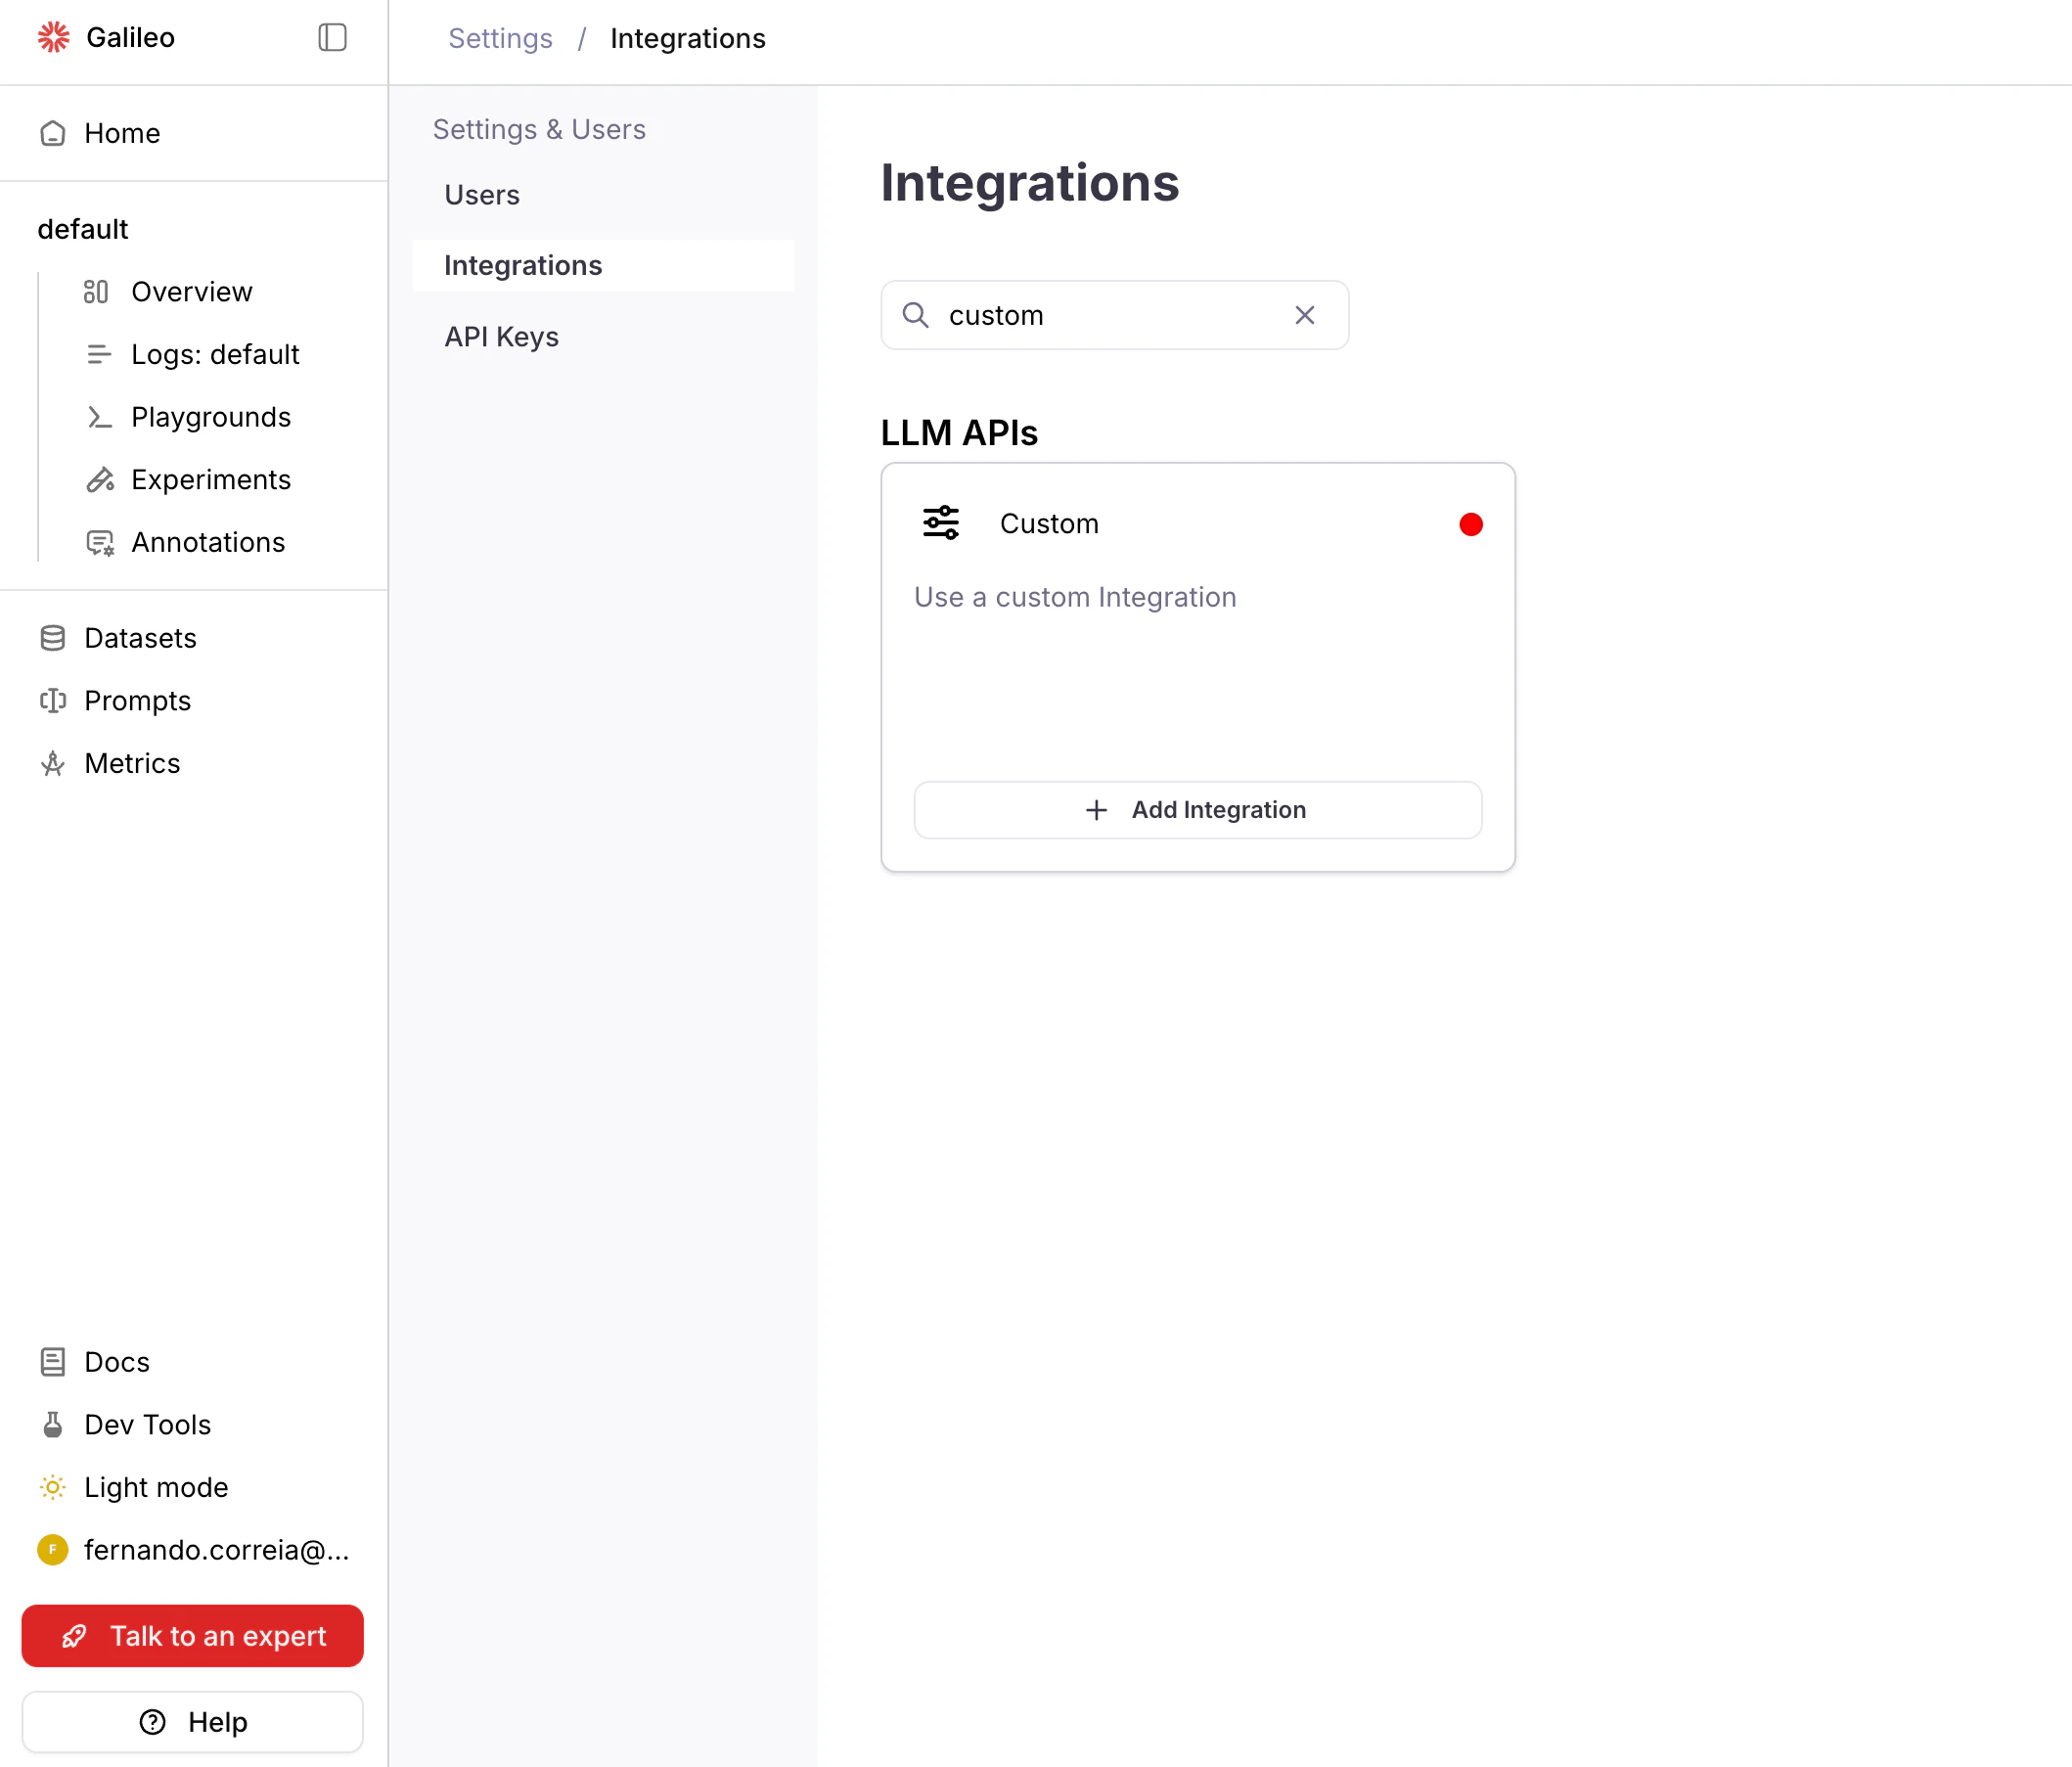
Navigate to Integrations
Navigate to Settings > Integrations in the Galileo console.
Configure Integration
Paste a valid JSON and Save changes.
This JSON example uses API key authentication. See JSON properties below for an explanation of these and other properties, and instructions for other authentication types.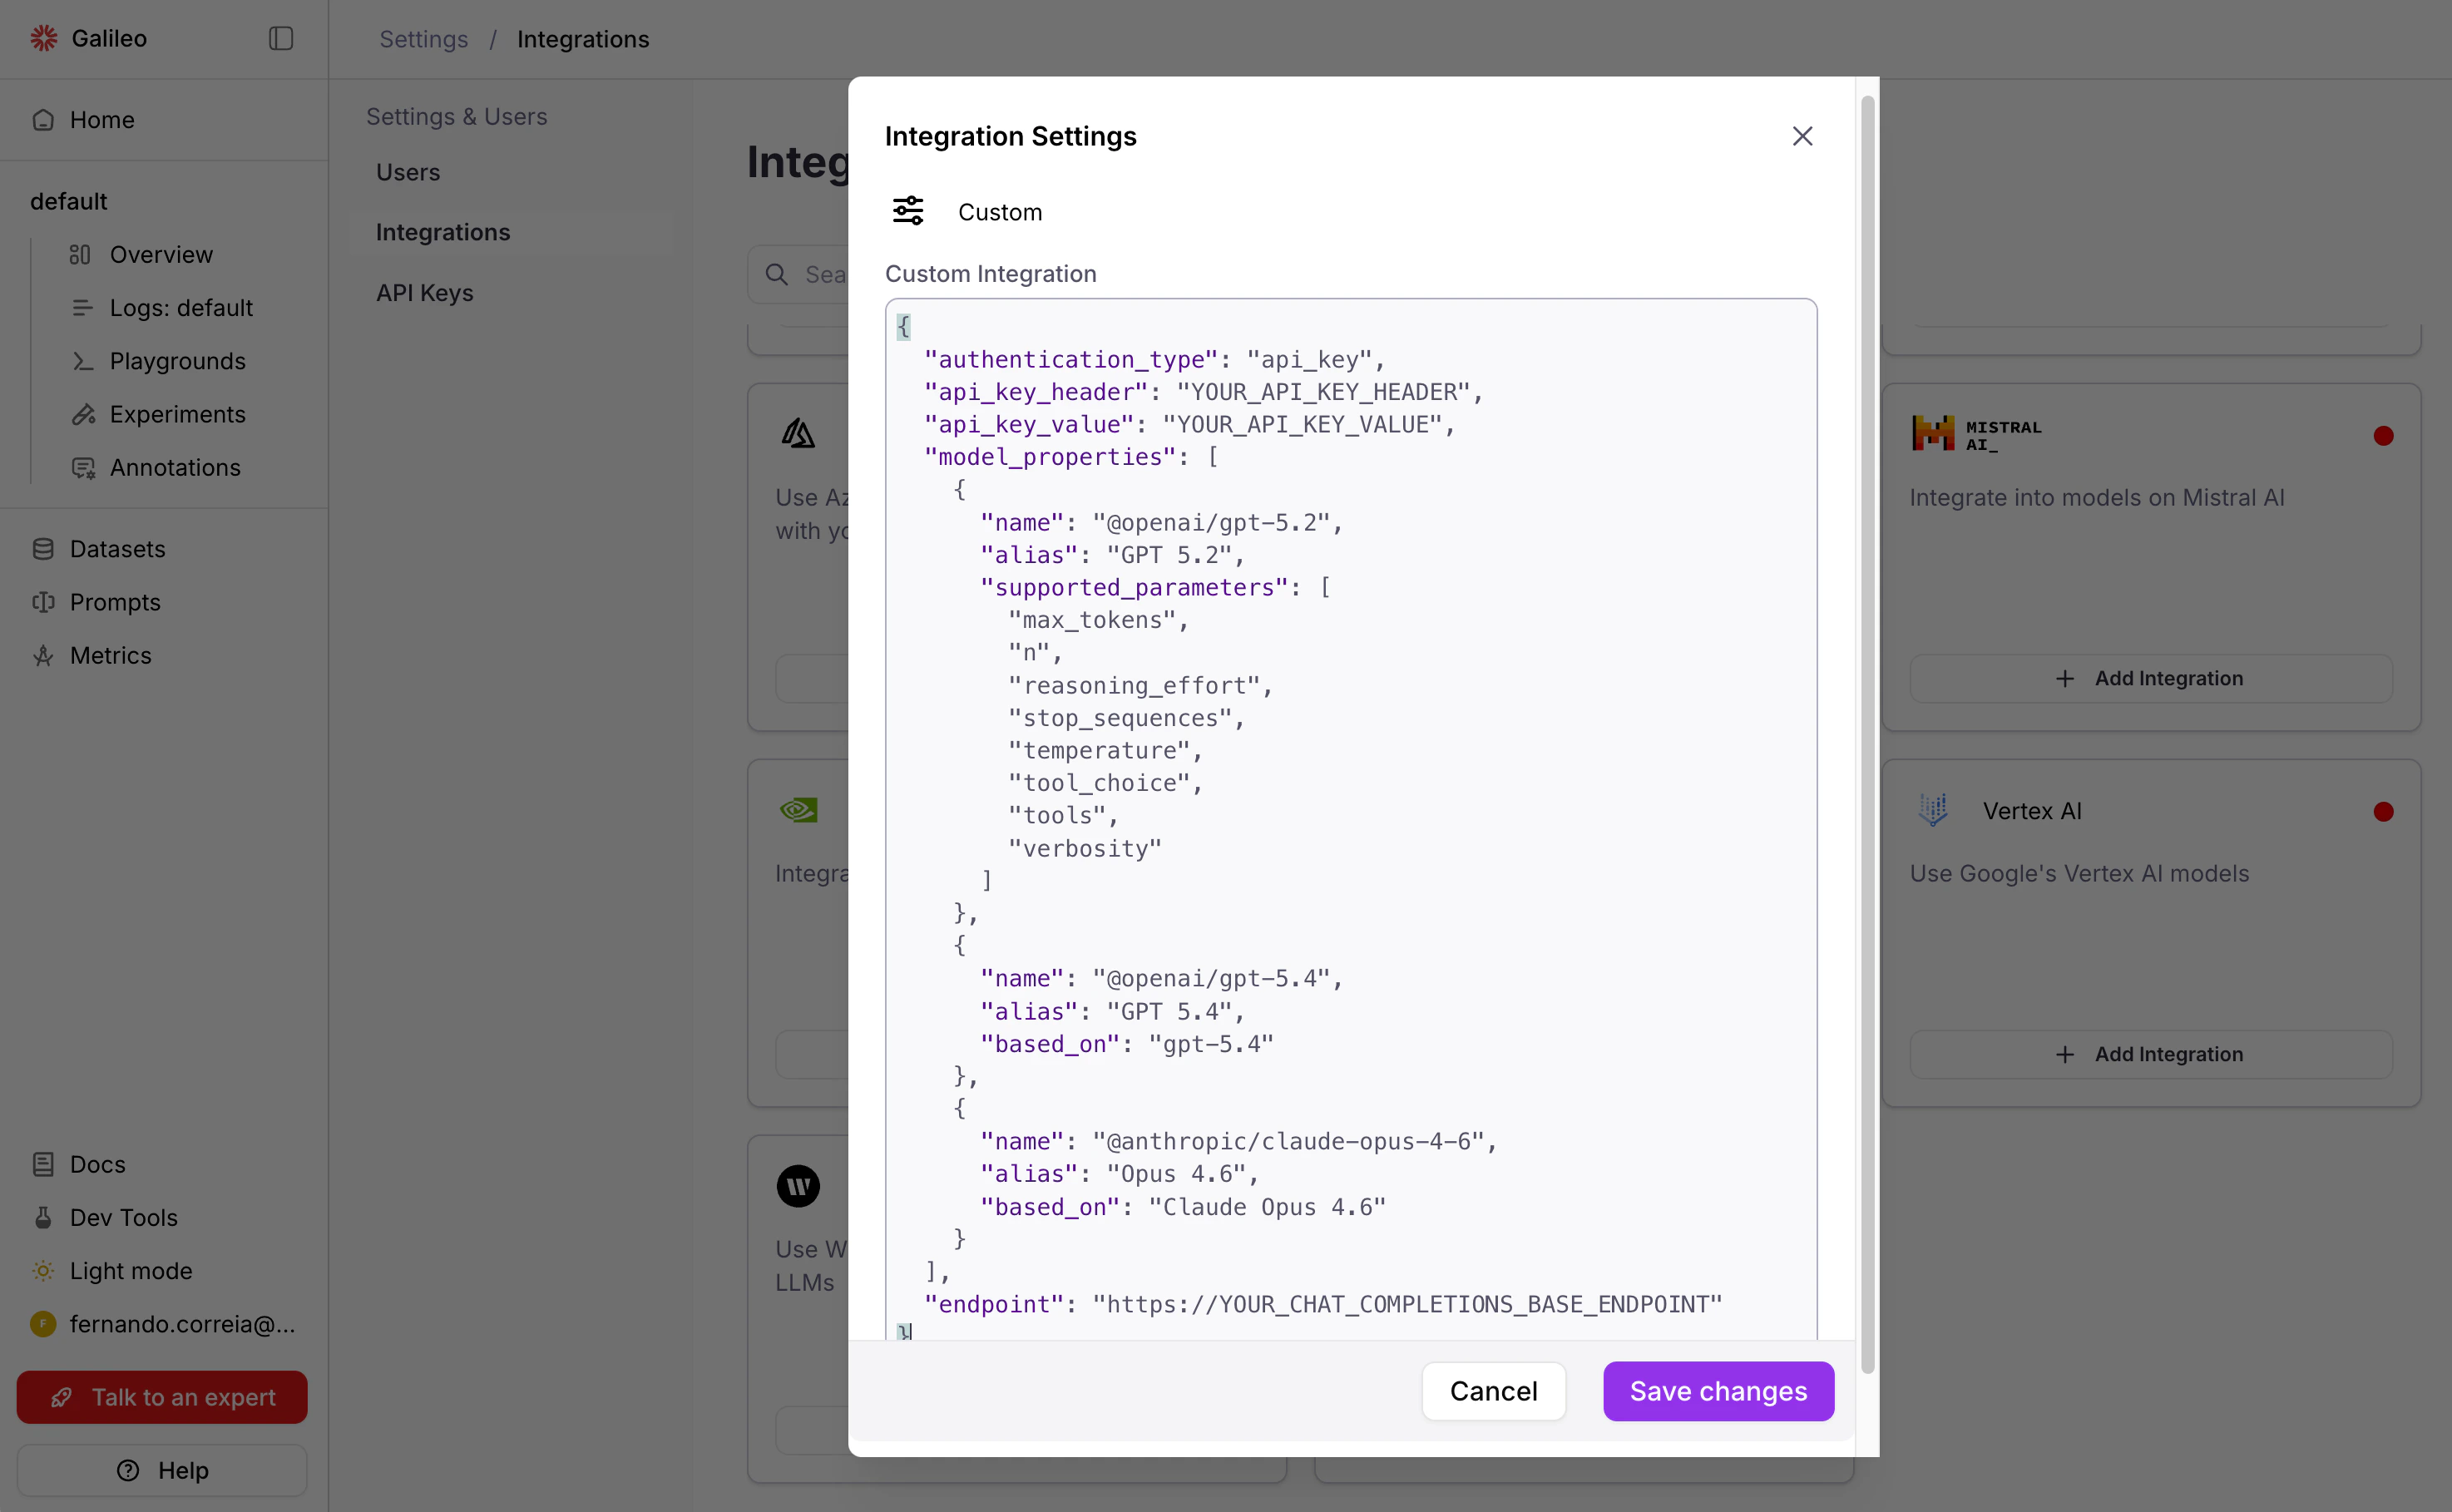
This JSON example uses API key authentication. See JSON properties below for an explanation of these and other properties, and instructions for other authentication types.
JSON properties
Authentication properties
API key authentication
For providers that use API key authentication (for example, Portkey), specify the following properties:"authentication_type":"api_key"."api_key_header": The name of the header that the AI provider uses for API key authentication. For example, for Portkey the name is"x-portkey-api-key". Consult your AI provider’s documentation to find out what is the header name that it requires."api_key_value": The API key to be used.
Bearer token authentication
For providers that use a static, pre-defined token for authentication (for example, Together AI), specify the following properties:"authentication_type":"api_key"."api_key_header":"Authorization"."api_key_value":"Bearer YOUR_TOKEN"whereYOUR_TOKENis a long text sequence representing the authentication token.
OAuth2 authentication
For providers that require dynamically-generated bearer tokens:"authentication_type":"oauth2"."oauth2_token_url": Endpoint URL of the OAuth2 server. This endpoint must be compatible with the OAuth2 Client Credentials Grant."authentication_scope":"YOUR_SCOPE"(optional, passed to the OAuth2 endpoint as thescopeproperty of the token request payload)."token":"{\"client_id\": \"YOUR_CLIENT_ID\", \"client_secret\": \"YOUR_CLIENT_SECRET\"}"(an escaped JSON string containing the static client ID and secret that will be sent to the OAuth2 endpoint).
The
access_token field of the OAuth2 endpoint’s JSON response will be used as a Bearer token for LLM inference requests.No authentication
For internal endpoints or providers that don’t require authentication:"authentication_type":"none".
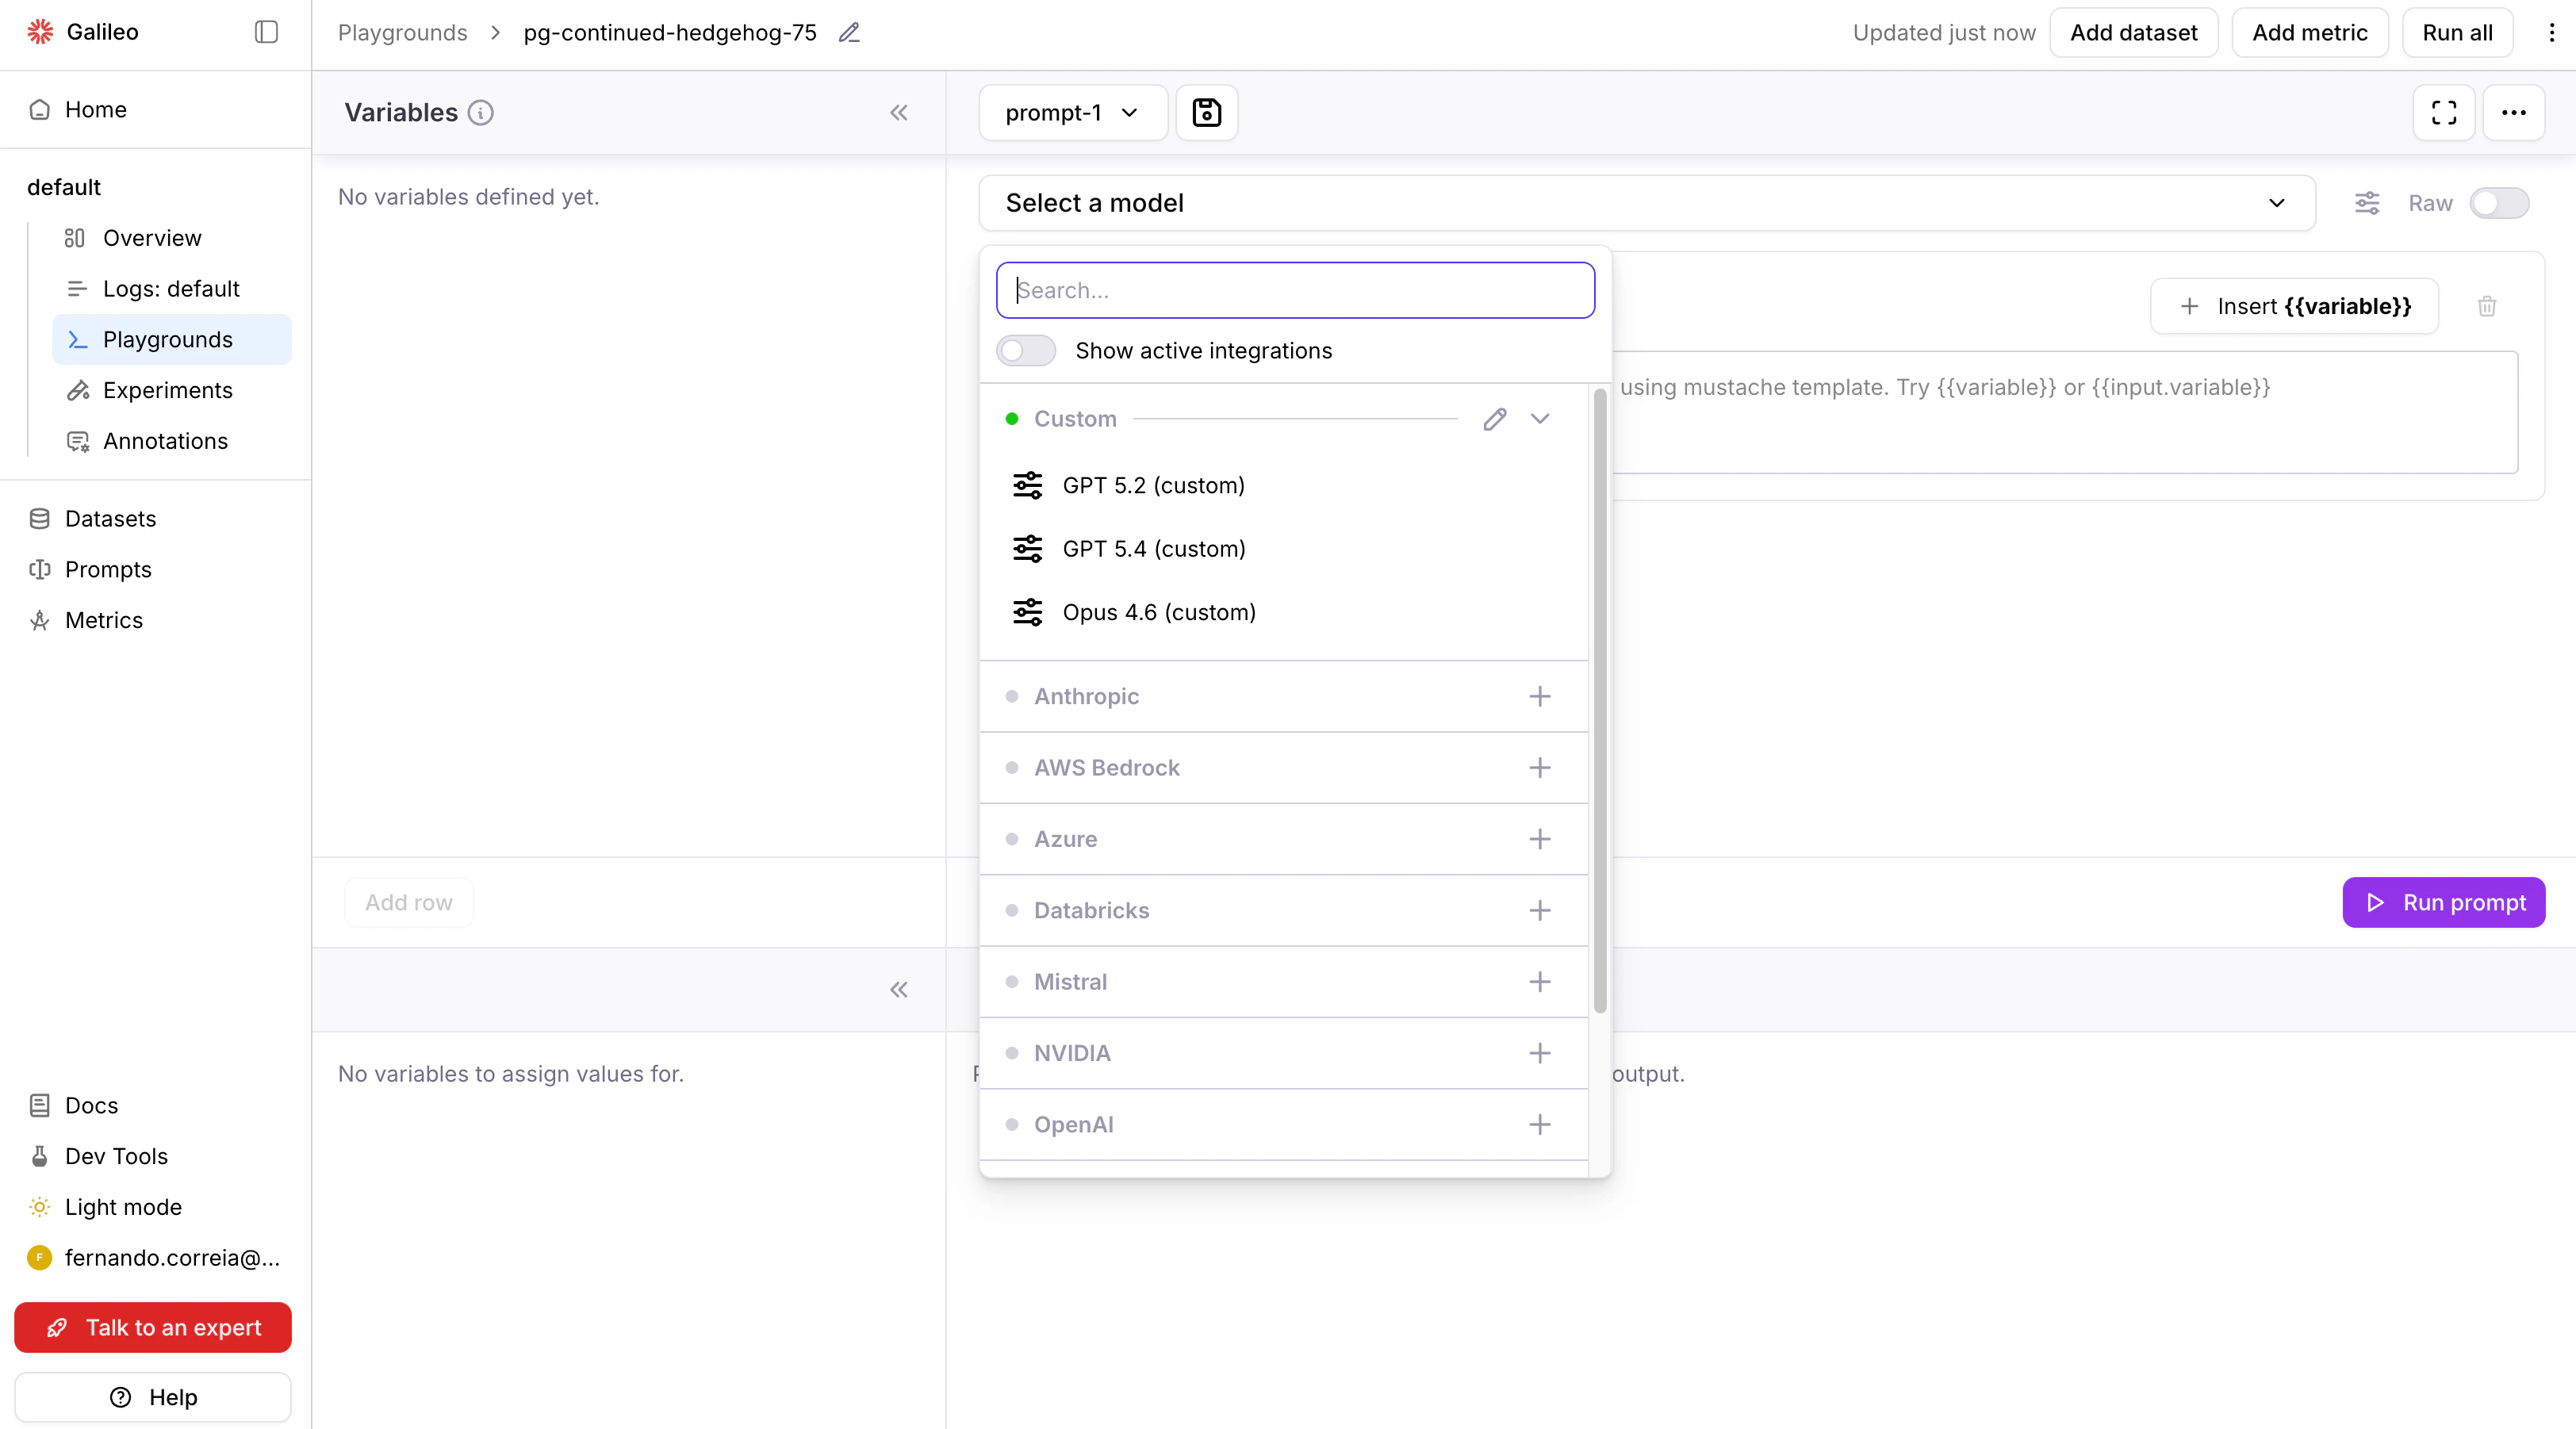
Model properties
Themodel_properties JSON property is used to configure the models that the AI provider supports.
For each model, the following properties are available:
"name": Name of the model on the AI provider. The value is passed verbatim to the AI provider on the inference request."alias": The unique identifier of the model in Galileo. The value is displayed in the user interface when selecting models. If not provided,namewill be used as a default value."based_on": An optional alias of a built-in Galileo model. If provided, thesupported_parametersof the built-in model will be used for this custom integration model."supported_parameters": A list of parameters that the custom model supports. Alternative tobased_on, with the difference that instead of copying the parameter names from a built-in model, it directly provides the list.
based_on or supported_parameters are provided, this parameter list will be used by default:
["frequency_penalty", "max_tokens", "presence_penalty", "stop", "temperature", "top_p"].
List of built-in model aliases that can be used with based_on:
Click to expand
Click to expand
Anthropic
Anthropic
Claude 3 HaikuClaude 3.7 SonnetClaude Haiku 4.5Claude Opus 4Claude Opus 4.1Claude Opus 4.5Claude Opus 4.6Claude Sonnet 4Claude Sonnet 4.5Claude Sonnet 4.6
Azure
Azure
GPT-4o (Azure)GPT-4o mini (Azure)gpt-4.1 (Azure)gpt-4.1-mini (Azure)gpt-4.1-nano (Azure)gpt-5 (Azure)gpt-5-mini (Azure)gpt-5-nano (Azure)o1 (Azure)o3 (Azure)o3 mini (Azure)o4 mini (Azure)
Bedrock
Bedrock
AI21 - Jamba 1.5 Large (Bedrock)AI21 - Jamba 1.5 Mini (Bedrock)Amazon - Nova 2 Lite (Bedrock)Amazon - Nova Lite (Bedrock)Amazon - Nova Micro (Bedrock)Amazon - Nova Premier (Bedrock)Amazon - Nova Pro (Bedrock)Anthropic - Claude 3 Haiku (Bedrock)Anthropic - Claude 3.5 Sonnet (Bedrock)Anthropic - Claude 3.5 Sonnet v2 (Bedrock)Anthropic - Claude 3.7 Sonnet (Bedrock)Anthropic - Claude 4 Opus (Bedrock)Anthropic - Claude 4 Sonnet (Bedrock)Anthropic - Claude Haiku 4.5 (Bedrock)Anthropic - Claude Opus 4.1 (Bedrock)Anthropic - Claude Opus 4.5 (Bedrock)Anthropic - Claude Opus 4.6 (Bedrock)Anthropic - Claude Sonnet 4.5 (Bedrock)Anthropic - Claude Sonnet 4.6 (Bedrock)Cohere - Command R v1 (Bedrock)Cohere - Command R+ v1 (Bedrock)DeepSeek - R1 (Bedrock)Google - Gemma 3 12B (Bedrock)Google - Gemma 3 27B (Bedrock)Google - Gemma 3 4B (Bedrock)Meta - Llama 3 70B Instruct v1 (Bedrock)Meta - Llama 3 8B Instruct v1 (Bedrock)Meta - Llama 3.1 70B Instruct v1 (Bedrock)Meta - Llama 3.1 8B Instruct v1 (Bedrock)Meta - Llama 3.2 11B Instruct (Bedrock)Meta - Llama 3.2 1B Instruct (Bedrock)Meta - Llama 3.2 3B Instruct (Bedrock)Meta - Llama 3.2 90B Instruct (Bedrock)Meta - Llama 3.3 70B Instruct (Bedrock)Meta - Llama 4 Maverick 17B Instruct (Bedrock)Meta - Llama 4 Scout 17B Instruct (Bedrock)MiniMax - M2 (Bedrock)Mistral - 7B Instruct (Bedrock)Mistral - Large (Bedrock)Mistral - Large 3 (Bedrock)Mistral - Magistral Small (Bedrock)Mistral - Ministral 14B (Bedrock)Mistral - Ministral 3B (Bedrock)Mistral - Ministral 8B (Bedrock)Mistral - Pixtral Large 25.02 (Bedrock)Mistral - Small 24.02 (Bedrock)Mixtral - 8x7B Instruct (Bedrock)Moonshot - Kimi K2 Thinking (Bedrock)NVIDIA - Nemotron Nano 12B (Bedrock)NVIDIA - Nemotron Nano 9B (Bedrock)OpenAI - GPT OSS 120B (Bedrock)OpenAI - GPT OSS 20B (Bedrock)Qwen - Qwen3 32B (Bedrock)Qwen - Qwen3 Coder 30B (Bedrock)Qwen - Qwen3 Next 80B (Bedrock)Qwen - Qwen3 VL 235B A22B (Bedrock)Writer - Palmyra X4 (Bedrock)Writer - Palmyra X5 (Bedrock)
Databricks
Databricks
Meta Llama 3.1 405B Instruct (Databricks)Meta Llama 3.1 70B Instruct (Databricks)
Mistral
Mistral
ministral-3bministral-8bministral-largeministral-small
NVIDIA
NVIDIA
BAAI BGE M3 (NVIDIA)BigCode StarCoder2 15B (NVIDIA)BigCode StarCoder2 7B (NVIDIA)Databricks DBRX Instruct (NVIDIA)DeepSeek AI DeepSeek-R1 (NVIDIA)DeepSeek AI DeepSeek-R1 Distill Llama 8B (NVIDIA)DeepSeek AI DeepSeek-R1 Distill Qwen 32B (NVIDIA)DeepSeek AI DeepSeek-R1 Distill Qwen 7B (NVIDIA)Google Gemma 2B (NVIDIA)Google Gemma 3 12B It (NVIDIA)Google Gemma 3 1B It (NVIDIA)Google Gemma 3 27B It (NVIDIA)Google Gemma 3 4B It (NVIDIA)Google Gemma 7B (NVIDIA)Microsoft Phi 3 Medium 128K Instruct (NVIDIA)Microsoft Phi 3 Medium 4K Instruct (NVIDIA)Microsoft Phi 3 Mini 128K Instruct (NVIDIA)Microsoft Phi 3 Mini 4K Instruct (NVIDIA)Microsoft Phi 3 Small 128K Instruct (NVIDIA)Microsoft Phi 3 Small 8K Instruct (NVIDIA)Microsoft Phi 3 Vision 128K Instruct (NVIDIA)Microsoft Phi 3.5 Mini Instruct (NVIDIA)Microsoft Phi 3.5 Moe Instruct (NVIDIA)Microsoft Phi 3.5 Vision Instruct (NVIDIA)Microsoft Phi 4 Mini Instruct (NVIDIA)Microsoft Phi 4 Multimodal Instruct (NVIDIA)NVIDIA Llama 3.1 Nemotron 70B Reward (NVIDIA)NVIDIA Llama 3.1 Nemotron Nano 8B V1 (NVIDIA)NVIDIA Llama 3.3 Nemotron Super 49B V1 (NVIDIA)NVIDIA Nemotron 4 340B Instruct (NVIDIA)NVIDIA Nemotron 4 340B Reward (NVIDIA)NVIDIA Nemotron 4 Mini Hindi 4B Instruct (NVIDIA)Qwen Qwen2 7B Instruct (NVIDIA)Qwen Qwen2.5 7B Instruct (NVIDIA)Qwen Qwen2.5 Coder 32B Instruct (NVIDIA)Qwen Qwen2.5 Coder 7B Instruct (NVIDIA)Qwen Qwq 32B (NVIDIA)Tiiuae Falcon3 7B Instruct (NVIDIA)Writer Palmyra Med 70B (NVIDIA)Writer Palmyra Med 70B 32K (NVIDIA)Yentinglin Llama 3 Taiwan 70B Instruct (NVIDIA)Zyphra Zamba2 7B Instruct (NVIDIA)
OpenAI
OpenAI
GPT-4oGPT-4o minigpt-4.1gpt-4.1-minigpt-4.1-nanogpt-5gpt-5-minigpt-5-nanogpt-5.1gpt-5.2gpt-5.4o1o3o3-minio3-proo4-mini
Vertex AI
Vertex AI
gemini-2.0-flashgemini-2.0-flash-litegemini-2.0-flash-thinkinggemini-2.0-progemini-2.5-flashgemini-2.5-flash-litegemini-2.5-progemini-3.0-flash-previewgemini-3.0-pro-image-previewgemini-3.0-pro-previewgemini-3.1-flash-image-previewgemini-3.1-pro-previewgemini-3.1-pro-preview-customtools
Writer
Writer
Exam WorksPalmyra BasePalmyra BetaPalmyra EPalmyra InstructPalmyra Instruct 30Palmyra LargePalmyra MedPalmyra XPalmyra X 32KSilk Road
General properties
"default_model":nameof the model to be used by default when a model is not selected. If not provided, defaults to the first model inmodel_properties."endpoint": URL of the AI provider’s Chat Completions endpoint. Galileo will append/chat/completionsto this base URL. The endpoint must be compatible with the OpenAI Chat Completions API."custom_header_mapping": A dictionary mapping internal fields (job_id,user_id,project_id,run_id) to custom header names that will be set on inference requests."headers": A dictionary of header names as keys, and their corresponding values. Will be set on the inference request, overriding any existing value.
API schema
To configure custom integrations via Galileo’s API instead of via the UI, refer to the Custom Integrations API reference.Troubleshooting
- Make sure you have valid authentication credentials (e.g. an API key).
- Make sure the model name is exactly as specified through the provider.
- Make sure that requests are being sent to the provider’s endpoint.
curl command to verify that an API key and model for Portkey has been configured correctly.
Advanced usage: custom LLM handlers
The JSON properties example works when your LLM provider exposes a standard OpenAI-compatible/chat/completions endpoint.
However, some providers use proprietary request formats, non-standard response structures, or custom authentication flows that can’t be handled by configuration alone.
For these cases, you can write a custom LLM handler — a Python class that gives you full control over how Galileo sends requests to your model and interprets the responses.
When to use a custom handler
- Your provider’s API doesn’t follow the OpenAI
/chat/completionsformat - You need to transform requests or responses (e.g., different payload structure, custom headers)
- Your authentication flow goes beyond OAuth2 or API keys (e.g., signed requests, mTLS)
- You need custom retry logic or error handling
Writing a handler
Create a Python file with a class that extendslitellm.CustomLLM. Your class must implement the acompletion method, which receives the standard LiteLLM inputs and must return a ModelResponse:
Configuring the handler in your integration payload
Reference your handler using thecustom_llm_config field:
Python file containing the CustomLLM class (e.g.,
"proprietary_handler.py").Class name (must be a
litellm.CustomLLM subclass).Keyword arguments passed to the handler’s constructor.
The model properties and general properties also apply to custom LLM handler JSON configuration.
The custom LLM handler receives the
endpoint as the api_base parameter. It’s up to the handler’s implementation to use it or ignore it.Deploying handler files
Handler files must be placed on the Galileorunners container filesystem.
Set to
true to enable custom LLM support.Directory where handler files are located.
.py files directly in the configured directory (nested paths are not supported):
- Volume mount — Mount a volume containing your handler files at
/opt/custom_llms - Custom image — Build a custom runner image with handler files copied in
- Custom directory — Set
GALILEO_CUSTOM_LLMS_DIRECTORYto a different path
Security notes
- Tokens are encrypted before storage
- OAuth2 client credentials should be kept confidential and rotated regularly
- Custom LLM handler files should be reviewed for security before deployment